Setting up takes a few minutes. You give TideReply your website, it reads it, and you put the chat on your site. Everything after that (more knowledge, email, team) can wait until you're ready.
Selling on Shopify? Start from the Shopify App Store instead. Your plan is billed through Shopify and your store syncs on its own. See Install on Shopify.
- 1
Choose your plan
Go to the pricing page, pick Pay monthly or Pay yearly, and click Continue. You pay through a secure Stripe checkout.
Your account is created by the purchase, so there is no separate sign-up form.
- 2
Create your password
After the payment you go straight to setup. We also email you a link to create your password, so you can sign in later from any device.
If the email doesn't arrive within a few minutes, check your spam folder or write to support@tidereply.com.
- 3
Tell TideReply which website to learn
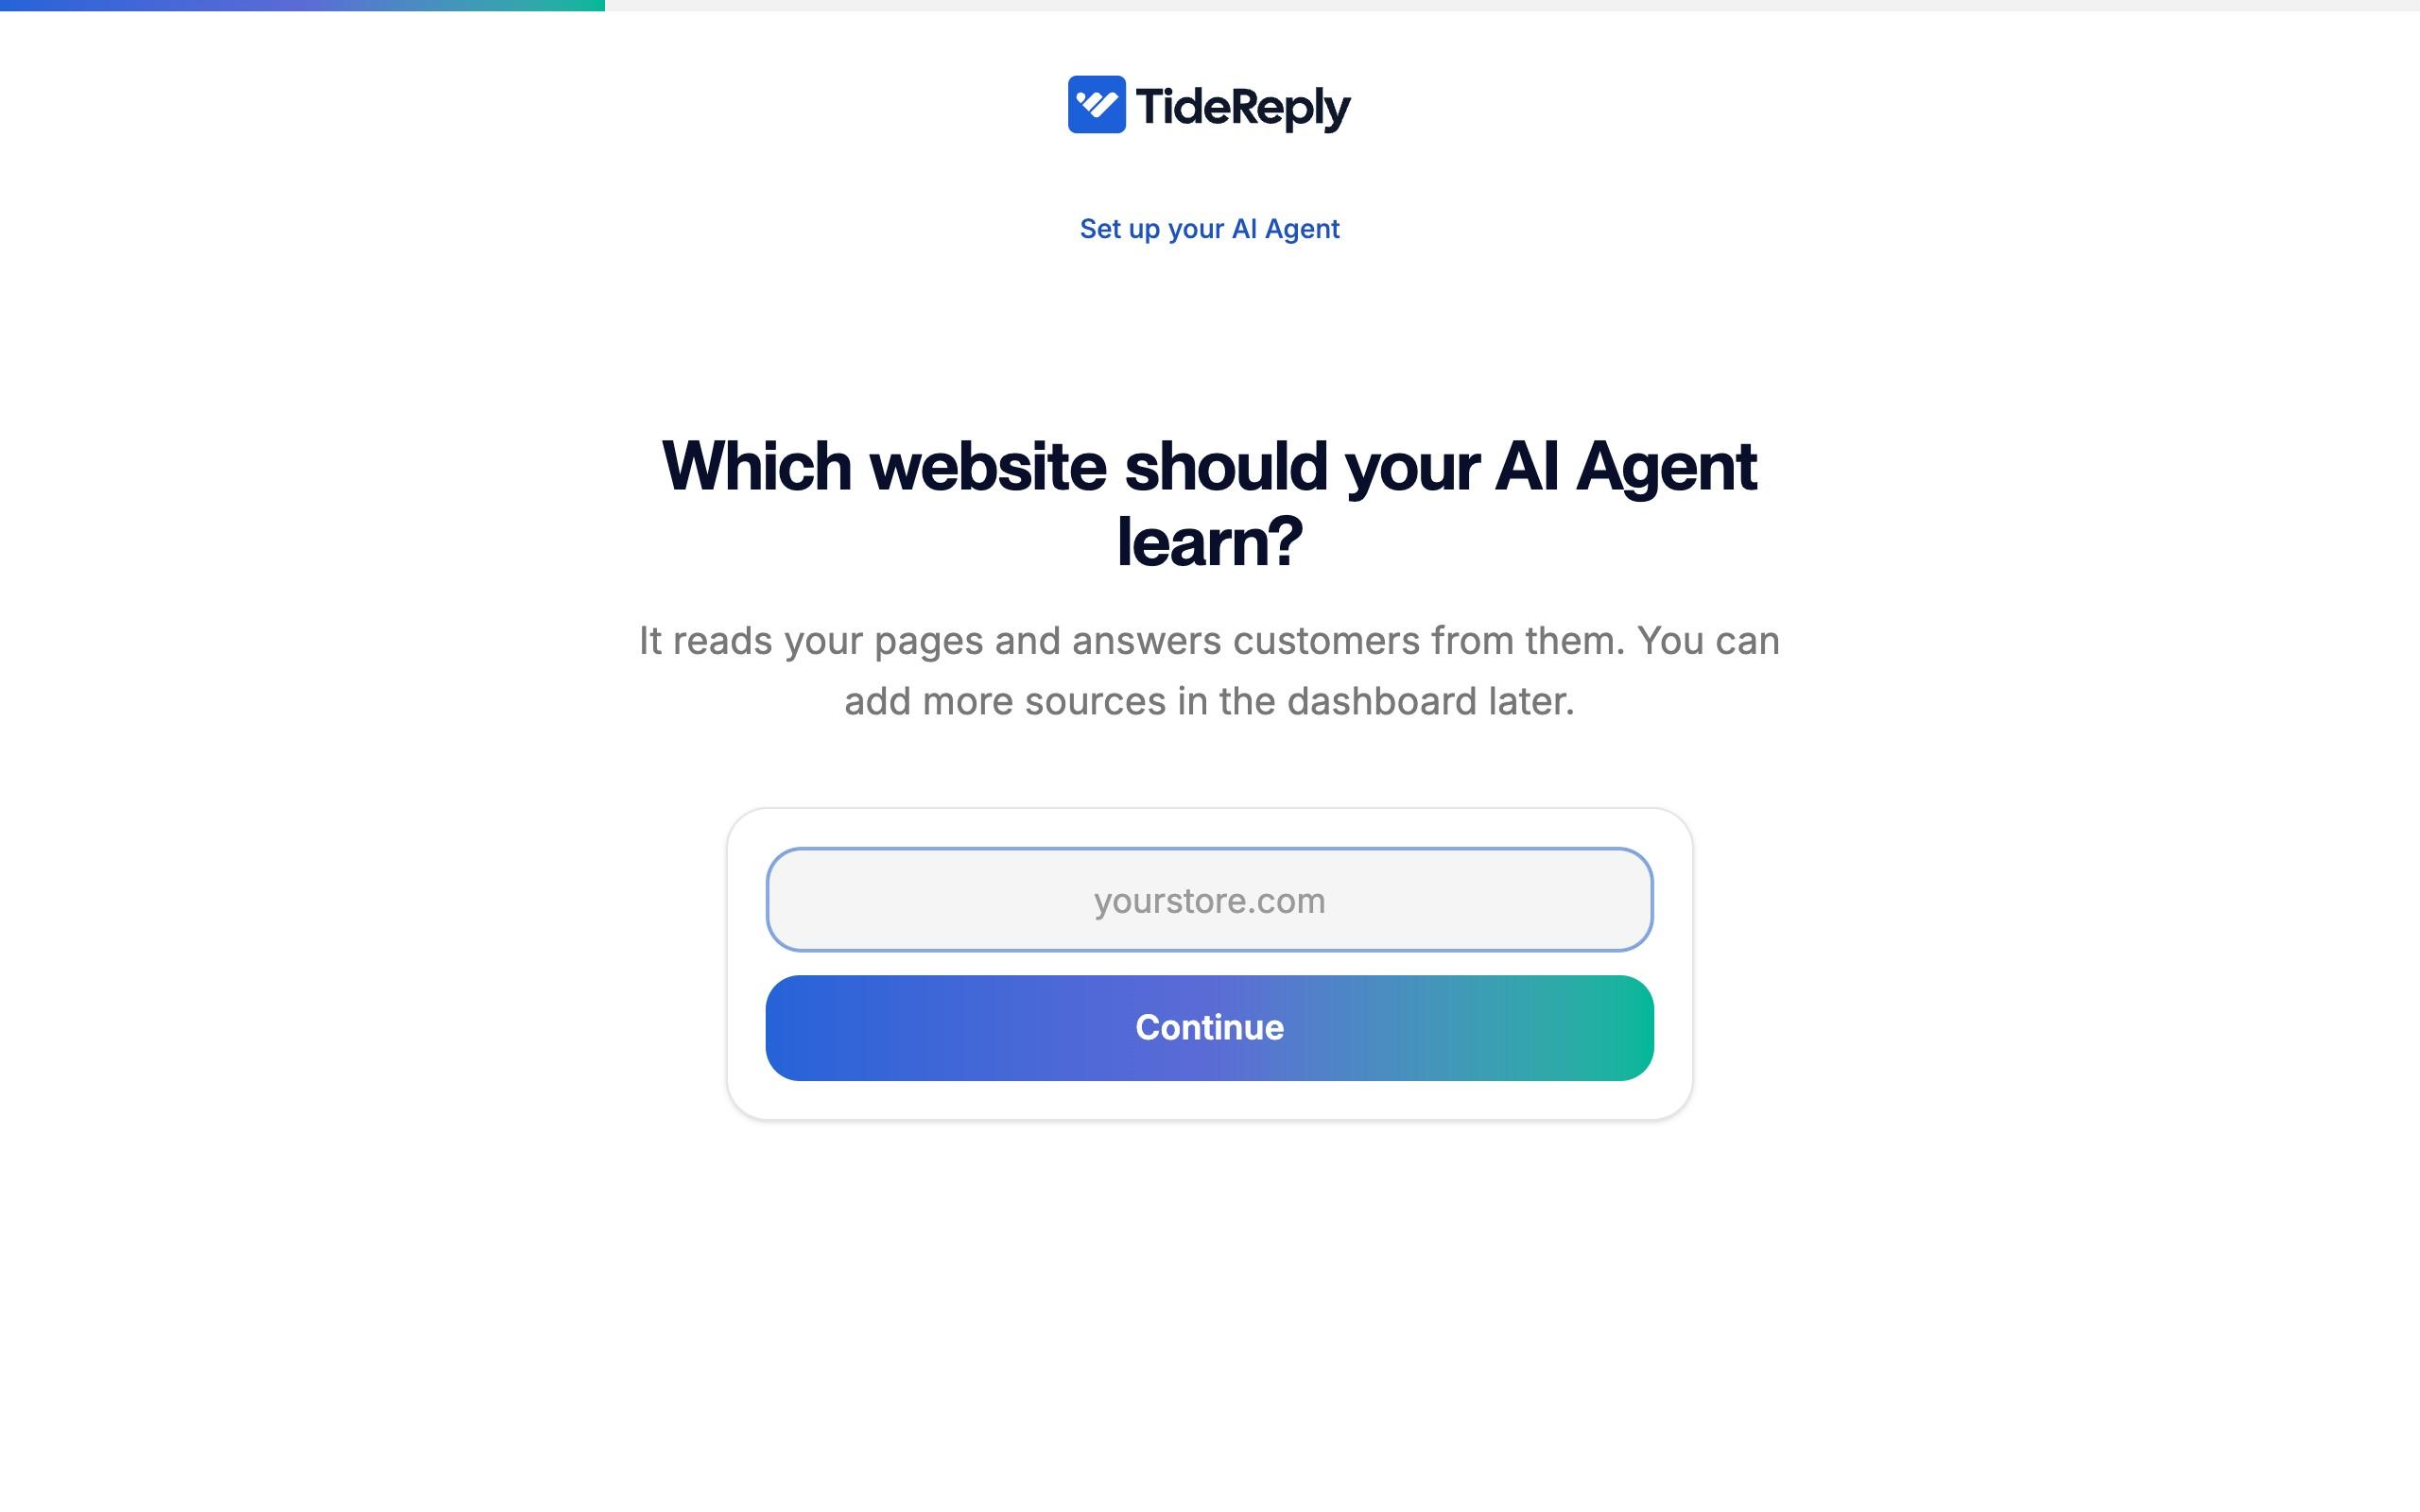
You'll see Which website should your AI Agent learn? Enter your website address and click Continue.
TideReply reads up to 100 pages of your site. Larger sites take a minute or two. If it takes longer, you can carry on while it reads the rest in the background.
- 4
Check what it learned
When reading is done, you'll see what your AI Agent learned. Check the business name (you can edit it right there), then click Install the widget.
- 5
Put the chat on your website
TideReply suggests the right method for your site:
- Shopify: the TideReply app. See Install on Shopify.
- WordPress or WooCommerce: the TideReply plugin. See Install on WordPress.
- Any other site: one line of code. See Install on any website.
Not at your computer? Click Email me these steps and finish later. You'll also find every install guide in Settings > Chat widget, under Install.
- 6
Ask it a few questions
Open Simulator in the left menu and ask the questions your customers ask most. See Test your AI before customers do.
Your setup checklist
While you're getting started, a Set up your AI Agent card shows your progress on your Inbox until your first conversation arrives. Get set up at the bottom of the left menu shows the same five steps:
- Teach your AI about your business: ticks once you've added any knowledge.
- Ask it what your customers ask: ticks after your first conversation in the Simulator.
- Set its tone and rules: ticks once you've set anything in AI behavior.
- Check your welcome message: ticks once you've changed it or clicked Keep this message in Chat widget.
- Put the chat on your website: ticks once the chat loads on your site.
You can hide the card with its X. Get set up stays in the left menu.
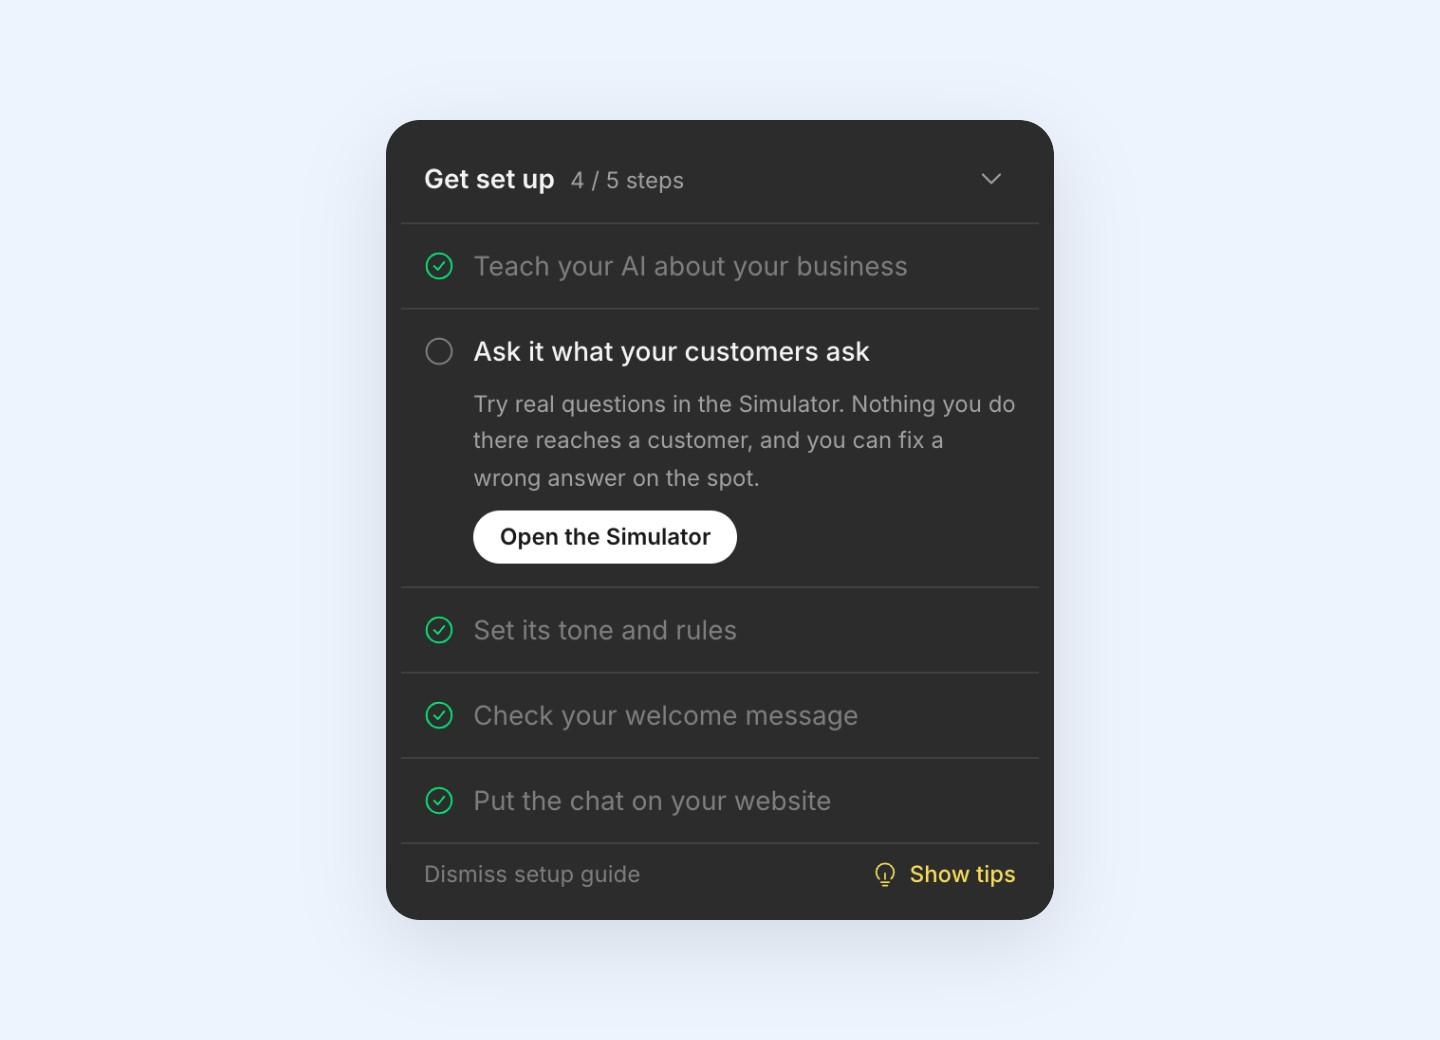
It disappears when all four are done. To hide it sooner, click Dismiss setup guide.
What to do next
- Add more knowledge: files, FAQs and notes your website doesn't cover.
- Set the AI's tone and rules: how it sounds and what it must never do.
- Invite your team so they get notified when a customer needs a person.
- Connect your support email so the same AI answers your inbox.